Trezor.io/start: Complete Guide to Setting Up Your Trezor Hardware Wallet
In the world of cryptocurrency, security is everything. With increasing cases of hacks, phishing attacks, and exchange failures, protecting your digital assets has never been more important. This is where hardware wallets come into play, and Trezor stands out as one of the most trusted names in crypto security. If you’ve recently purchased a Trezor device, the official setup page Trezor.io/start is your first and most important stop.
This guide explains what Trezor.io/start is, why it matters, and how to safely set up your Trezor wallet step by step.
What Is Trezor.io/start?
Trezor.io/start is the official onboarding and setup portal for Trezor hardware wallets, including the Trezor Model One and Trezor Model T. The page provides verified instructions, software downloads, and security guidance to ensure users correctly initialize their device without risking their private keys.
Because fake websites and phishing links are common in the crypto space, it is critical to always use the official Trezor website when setting up your wallet. Bookmarking Trezor.io/start is highly recommended to avoid accidental visits to malicious look-alike sites.
Why Use a Trezor Hardware Wallet?
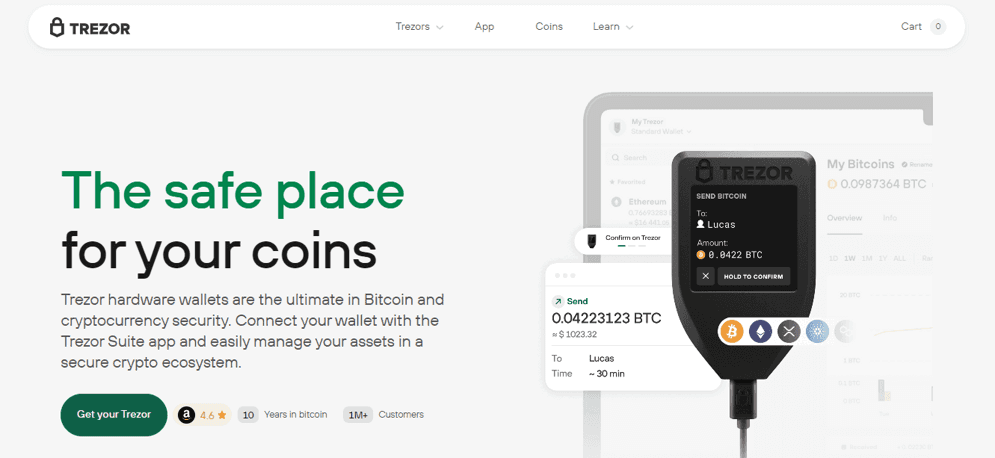
A Trezor wallet stores your private keys offline, keeping them isolated from internet-connected devices that are vulnerable to malware. Unlike software wallets or exchanges, Trezor gives you full ownership and control of your crypto assets.
Key benefits include:
Offline storage of private keys
Protection from viruses and keyloggers
Support for thousands of cryptocurrencies
Open-source firmware for transparency
PIN and passphrase protection
Using Trezor.io/start ensures these features are set up correctly from the very beginning.
Getting Started: What You Need
Before visiting Trezor.io/start, make sure you have:
A genuine Trezor hardware wallet
A computer or mobile device with internet access
A USB cable (included with the device)
A quiet, private space to record your recovery seed
Never attempt to set up your wallet in public or while screen-sharing.
Step-by-Step Setup Using Trezor.io/start
1. Visit the Official Website
Open your browser and type https://trezor.io/start directly into the address bar. Avoid clicking ads or third-party links.
2. Select Your Device
Choose the correct model (Trezor Model One or Model T). The website will automatically guide you through device-specific instructions.
3. Install Trezor Suite
You will be prompted to download Trezor Suite, the official desktop or web application used to manage your wallet. This software allows you to send, receive, and monitor cryptocurrencies securely.
4. Connect Your Trezor
Plug your Trezor device into your computer using the USB cable. If the device is new, it will not yet have firmware installed.
5. Install Firmware
Trezor.io/start will guide you through installing the latest firmware. This step ensures your device has the newest security updates and features.
Important: Firmware must always be installed through the official Trezor interface.
Creating and Securing Your Recovery Seed
One of the most critical steps during setup is generating your recovery seed.
Your Trezor will generate either 12, 18, or 24 random words
Write these words down in exact order on paper
Never take photos or store them digitally
Never share them with anyone
Your recovery seed is the only way to restore your wallet if your Trezor is lost, stolen, or damaged. Trezor.io/start emphasizes this step because anyone with access to these words can control your funds.
Setting a PIN and Optional Passphrase
After securing your recovery seed, you will be asked to create a PIN code. This protects your device from unauthorized physical access.
For advanced users, Trezor also offers passphrase protection, which adds an extra layer of security by creating hidden wallets tied to a custom phrase. This feature is optional but highly recommended for users holding large amounts of cryptocurrency.
Supported Cryptocurrencies
Once setup is complete, Trezor Suite allows you to manage a wide range of assets, including:
Bitcoin (BTC)
Ethereum (ETH)
Litecoin (LTC)
Cardano (ADA)
Polygon (MATIC)
ERC-20 tokens
Support continues to expand through regular firmware and software updates available via Trezor.io/start.
Common Mistakes to Avoid
When setting up your wallet, avoid these critical errors:
Using unofficial websites or software
Skipping firmware updates
Storing recovery seed digitally
Sharing seed words with “support agents”
Buying pre-used or tampered devices
Trezor will never ask for your recovery seed under any circumstances.
Why Trezor.io/start Is Essential
Trezor.io/start isn’t just a setup page—it’s a security gateway. It ensures your device is genuine, updated, and configured according to best practices. Whether you’re a beginner or an experienced crypto investor, following the official setup process protects your funds from preventable risks.
Final Thoughts
Setting up a Trezor hardware wallet through Trezor.io/start is one of the smartest steps you can take to secure your cryptocurrency. By following the official instructions, safeguarding your recovery seed, and using Trezor Suite responsibly, you gain full control over your digital assets with industry-leading security.